
When the shaped bread dough is left to ferment and rise unaltered before baking, it is referred to as proofing and occurs near the end of the process.
Developing your proofing skills is essential to producing delicious baked goods. Although proofing at room temperature is a great method, you may speed up the process by using your oven’s controlled environment.
Giving the yeast in the dough time to ferment and produce carbon dioxide gas, which causes the dough to rise and expand. It is an essential step in baking fluffy loaves.
This is the guide for anyone who has ever wondered what to look for to tell when their proofing bread dough is ready to bake.
Contents
What Is Proofing?
The last rise that a yeast dough experiences prior to baking is referred to as proofing. Since proofing is a continuation of fermentation, the terms fermentation and proof are sometimes used interchangeably.
The process through which yeast feeds on the sugars and starches included in yeast dough is referred to as fermentation, and consequently as proving. The dough rises as a result of the ethanol and carbon dioxide produced by the feeding yeast. Yeast breads get their unique flavor from this procedure as well.
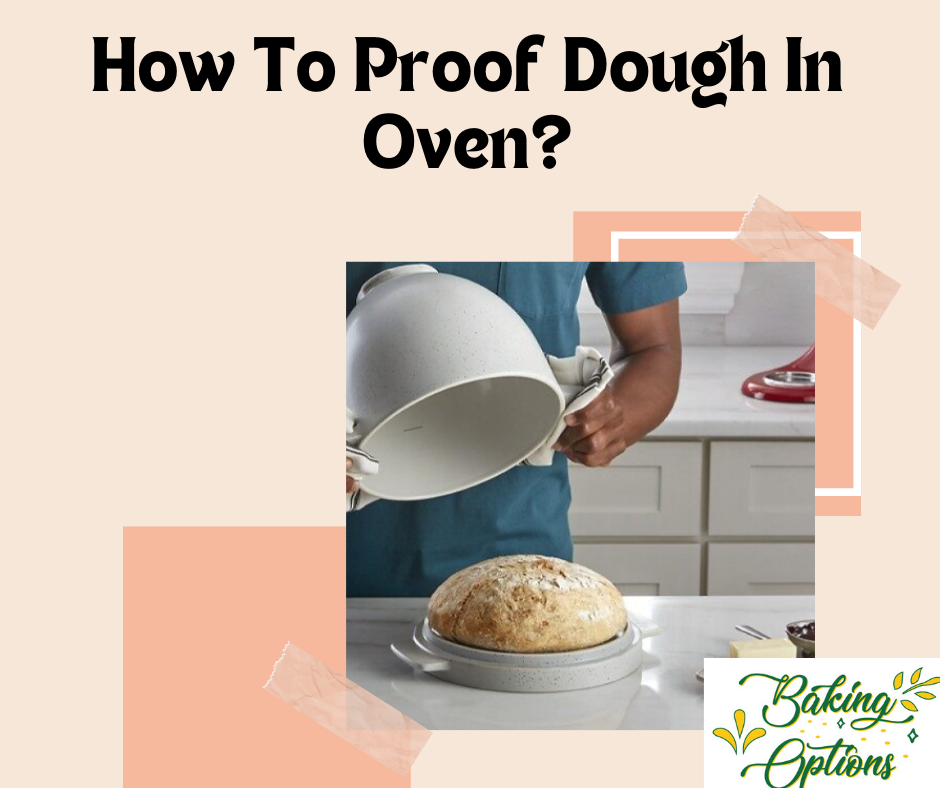
How To Prove Dough In The Oven

You can either prepare the oven to the desired temperature and place the dough inside, or you can proof the dough in the oven with hot water. The quickest way is the preheat procedure.
Hot Water Technique
Let’s say you live in a very dry place. This method will still work for you because it creates a humid environment.
- Prepare your oven. You want to put one of your racks in the lowest position. The center should be occupied by another rack.
- Put in your dough. Arrange the dough bowl, loosely covered, on the oven’s center rack.
- Acquire a large metal pan. A 9 by 13-inch (23 by 33-centimeter) casserole dish works well. Glass and ceramics should not be used because they are brittle materials. Place the pan on the oven’s lower shelf.
- Warm up your water. Heat two to three cups of water in the microwave or on the stovetop until they reach a rolling boil.
- Fill your pan with water. After preparing the warm water, pour it into the pan and close the oven door.
Oven Preheat Technique
If you would rather not boil the water, try this method for an even easier procedure. This is a quick and easy method that I normally use when I’m in a rush and the dough only needs a little extra proving.
- Position the oven rack in the center.
- Switch on your oven and leave it empty for two minutes. Next, switch off the oven.
- Close the oven door after placing your covered bowl of dough on the middle rack.
How much should my dough rise while it proofs?
If you read my blog regularly, you are aware that I don’t specify dough sizes when it comes to proving. Why? Depending on the flour composition, hydration level, dough strength, and shaping tightness, each dough will rise differently. It’s challenging, in my opinion, to provide a precise % volume increase in every circumstance.
Use your knowledge and intuition along with the poke test to decide whether a dough is ready to bake, rather than relying solely on how much it expands in volume.
What happens if I proof my dough for too long?
You may either bake the overproofed sourdough bread dough right away, flip it, and use it as a base for focaccia, or you can put it in a loaf pan and make sandwich bread. As is often the case with overproofed dough, the pan that the dough is placed in will aid in preventing it from spreading unduly in the oven.
Scrape the dough gently out of the basket into a focaccia pan to make sourdough focaccia. Gently stretch the dough to suit the pan’s edges using your moist hands. After that, brush the dough with oil, sprinkle chopped rosemary and coarse sea salt on top, and bake!
How To Tell When Your Bread Is Done Proofing
Any ambitious baker needs to be able to identify the ideal proofing stage. There are two methods for doing this: observing the dough’s capacity to bounce back and its size increase closely.
Increase In Size
Size should noticeably grow when your wonderful bread has finished proofing, as this is one of the easiest indicators. The dough swells and gets noticeably bigger as the yeast ferments and releases carbon dioxide.
My rising dough is well-proofed when it doubles in size from what it started with in the oven. Pay close attention to the development of your dough to prevent over-proofing, which can result in a deflated finished product.
Spring Back Ability
I lightly touch my finger onto the surface of my dough to see whether it’s ready. I can tell when my fragrant bread is properly proofed when I gently poke it and it slowly returns, leaving a small indentation.
The dough probably needs additional time to proof if it returns rapidly and loses its indentation. On the other hand, the dough may be over-proofed if it doesn’t spring back at all and the indentation stays.
Wrapping Up
You now have a thorough understanding of the method for speeding up the bread-making process by proving bread in an oven. These oven-proofing tips can help you control the temperature and proofing time to achieve flawless homemade flavor whether you’re making delicate pastries or artisanal bread.
Your dishes will soar with this newfound understanding. Tantalizing your palate and fulfilling your desire to cook. Cheers to your baking!