
A culinary miracle are serrated knives. Squashing, smushing, and otherwise dismantling delicate foods like tomatoes, crusty breads, and soft pastries is no problem for them. You understand how frustrating it may be if you’ve ever attempted to accomplish one of these tasks with a regular chef’s knife.
Knowing you have the appropriate tools for the job is crucial to feeling at ease in the kitchen, which is why serrated knives are such a marvel. Although they might not be as active as other members of your knife collection. They can truly make things so much simpler and more pleasurable when used correctly.
An excellent serrated knife is necessary. It may even prove to be more beneficial than your pairing or chef’s knife. Its jagged edge makes it easy to cut through both crusty baguettes and produce, and it stays sharper longer than your other knives.
A serrated blade retains its edge longer because of its greater surface area. It makes it ideal for severing thick rope and other fibrous materials. I’ll explain my methods for sharpening a serrated knife so you can keep it sharp for a very long period.
In light of this, let’s discuss what a serrated knife is, why you should use one, and how to maintain the sharpness of your serrated blade.
Contents
What is a Serrated Knife?
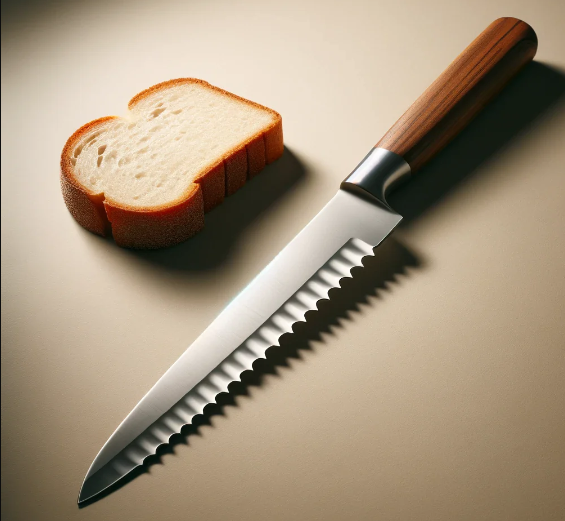
Another name for a serrated knife is a bread knife. Yes, they are the same item. The serrated has a longer, thinner blade with jagged, sharp teeth.
A serrated knife blade has “teeth” that allow it to adhere to hard surfaces before sliding smoothly down them.
Because of this, they are ideal for using on crusty breads, quickly removing them without damaging them. And I understand how crucial this is, having unnecessarily ruined a lot of bread by not using a serrated bread knife.
But serrated knives are great for other reasons as well. No, there’s a different explanation, which has to do with how much maintenance a serrated knife requires to stay in good operating order and how long it lasts for months. It is rare that a serrated knife needs to be sharpened.
Size and Steel
While most serrated knives are 4 1/2 to 10 inches long, some are about 18 inches long, specifically designed for cutting cakes.
Enrico Cassatelli, proprietor of Knife Sharpening of Bergen County in Paramus, New Jersey, claims that the best serrated blades are made from German or Japanese steel, which is of a higher grade than Chinese steel.
He claims that trying to sharpen blades manufactured of Chinese steel frequently results in their edges breaking off. It is more economical to purchase a new knife rather than try to make the old one better.
When to Use Serrated Knife
A bread knife works well for slicing both rustic sourdough boules and crunchy baguettes. But it also quickly cuts through any produce that has a soft inside and a tough exterior.
A bread knife can “bite” through the skin of some vegetables, such as tomatoes, eggplant and even watermelon. As well as other delicate produce that gets crushed during food preparation.
When You Need to Sharpen it
It’s likely that, after a while, you begin to realize that your serrated knife isn’t cutting as smoothly as it once did. When slicing through a piece of bread, if you find that crumbs are left on your counter instead of the slice going all the way through. It may be an indication that your serrated knife needs to be sharpened.
Within the culinary community, there appears to be a weirdly widespread belief that purchasing an inexpensive serrated knife will suffice instead of investing in a high-quality one. The plan is for you to throw away the dull knife and get a new one when the cheap blade stops working as well as it should.
You won’t need to sharpen a high-quality serrated knife for years. If you purchase one made of high-carbon steel because it will be strong and retain its edge well.
How to Sharpen Serrated Knife
If you know how to sharpen a regular chef’s knife, you know that you have to use a sharpening stone and a succession of lengthy strokes. After that, you reverse the strokes and do the same to the other side of the blade.
This is acceptable for knives with a straight edge, but serrated knives require a different method of sharpening.
A close inspection reveals that a serrated knife’s edge is made up of many small, individually curved serrations.
Therefore, you must sharpen each of these beveled serrations individually, one at a time, while sharpening a serrated knife. Furthermore, you won’t be honing the blade’s flat side in any way.
Thankfully, there’s a unique tool made to enable you to accomplish just that. I refer to it as a sharpening rod.
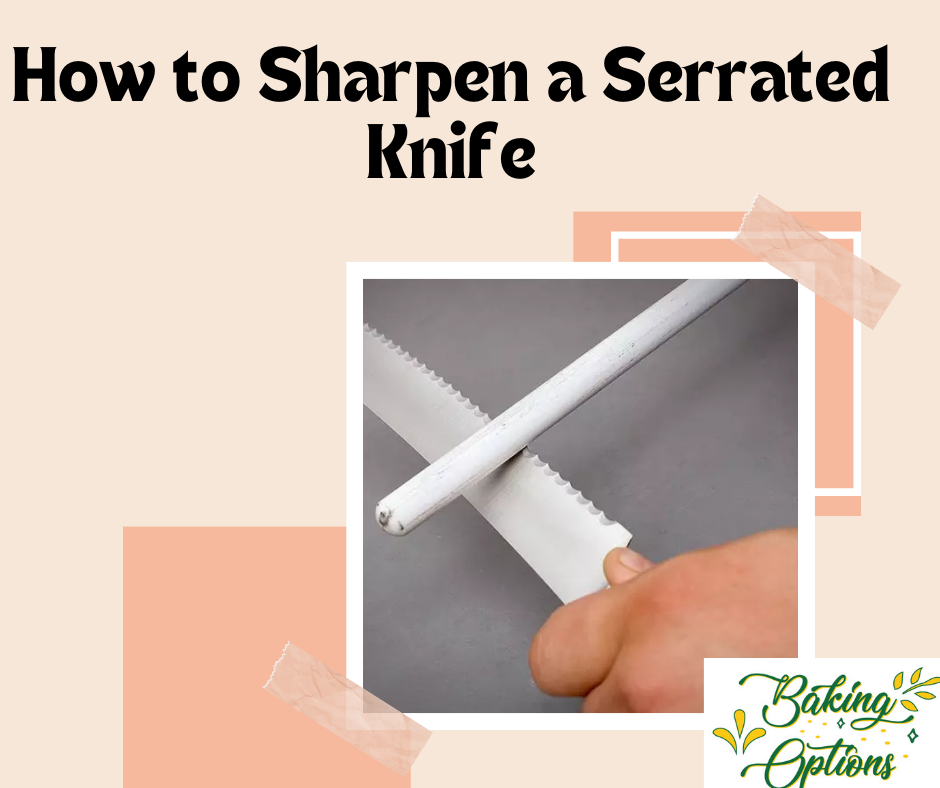
How to Use a Sharpening Rod
A sharpening rod is similar to honing steel in that it is smaller, thinner, and taper to a point. It allows for different thicknesses along the rod’s shaft. This is useful since different knives have varying widths of serrations, and you want to apply the portion of rod that best fits your knife’s serrations. You can get sharpening rods made of steel, ceramic, or even diamond.
Just run the rod across the serrations after the rod portion is connected to them. You’ll have the proper angle if you keep the rod flush with the bevel. Whichever side you drag the rod, make sure you drag it away from the blade for safety’s sake to avoid cutting yourself if you slip and harm yourself.
Apply four or five strokes to each serration before proceeding to the next. This will take some time if your knife has thirty or more serrations, as you can see. But the procedure is not that difficult.
When you’re finished, turn the knife over and lightly sand the flat side of the blade with a piece of fine-grit sandpaper or a standard sharpening stone. Lastly, just finish up by giving the knife a normal wash and drying.
Additional Tips
Keep it Concise
Using a tapered rod and making long strokes will typically result in a crater in the middle of your serration. You will have a serration inside your serration because more of the stroke will be on the too-thin part of the rod and much more material will be removed from the serration’s center.
Utilize Power
Since you will always be using the correct diameter piece of the rod, spinning a tapered rod might be the ideal method to use it. It will offer the serration’s finest match. Since doing this by hand might be laborious, I used a cordless drill to hold the sharpening rod. Set your drill at a low speed and proceed very slowly at first.
Power accelerates processes, which can be advantageous or problematic depending on the situation. When done carefully, this can expedite your work and yield excellent outcomes; when done casually, it might damage your blade.
Be mindful of your fingers
Use soft, deliberate strokes as your hands approach the edge. You will most likely need stitches if you are applying a lot of pressure to the rod and blade and you slip. Moving in the direction of the blade is best done with a softer touch. While stepping away, you can apply some pressure. But it’s preferable to keep it to no more than a few pounds.
Wrapping Up
It’s best to perform light preventive maintenance on your serrations, just like you would with any other sharpening technique. It will take a lot longer to sharpen them if you wait until they are fully worn out and dull.
The best approach to handle this is to make a few passes a week to keep it sharp and only do a complete sharpening if anything ends up really injuring you.